
 A good read of the workshop manual and with the bike laying on its side the gearbox was operated on. Five nuts hold the thing in place taking the timing cover off made access easier but I suspect the job could be done just as well with it in place. I had spoken to those that know and they said ‘it all comes out in one piece’ and in many respects they were right. I didn’t take the gearlever or kick-start lever off the spindles and the case cover lifted off as one piece to reveal the main shaft lay shaft and the forks. A firm pull on the forks left the lay shaft in place and the main shaft bearing on to the work surface ( garage floor with a towel for comfort!) and the thing was soon in bits and the old shaft wiggled out , before doing so you’ll see I took some snaps before I pulled he thing apart. One of the boons of digital photography and large display screens on cameras (anyone spot the deliberate mistake in the gear cluster photo?)

The brand new shaft from Nametab ( only 25 quid!) was easily put into place and ready to go to re install I mounted all the stuff on the face of the cover as two marks have to be lined up on the forks and gearlever a bit of a wiggle and they were in but half an inch proud.. So wiggling the main shaft where it comes out the far side of the box and click it literally all fell back into place.
At this stage, though it was difficult to tell if gears were engaging etc but with fingers crossed, I reassembled the gearbox sprocket clutch etc and re siliconed the cover back in place.
I’d also had the exhaust off and re fitted it with a new copper gasket and heat proof silicone ( the benefits of having a heating business) the exhaust is a ‘snug’ fit around the frame but surprisingly went on easily. One of the benefits of building a bike yourself (and rebuilding it and repairing it) is that familiarity and standard size nuts means the thing comes apart and goes back together with little or no fuss.
The TY80 steel tank was also refitted the fittings for this have been refined and we are now at the stage where under the tank is about 14 inches of 28mm pipe insulation carved to accommodated the coil and tank lugs, the mountings are now well sorted at the front the small tab is located by a rubber strap whilst the rear is held firm with and m10 bolt

The tank is also now proudly displaying its heritage thanks to the best site of the web for decals ISAYDINGDONG I’ve used them 3 or 4 times now and for 3.75 with next day delivery they cant be beaten.
 I have included a picture of the Polisport fuel filter, the first time I ran the new tank I double up on filters and after pulling the carby to bits and finding more grit than a sandpaper factory I will be doubling up again for the next few trails at least
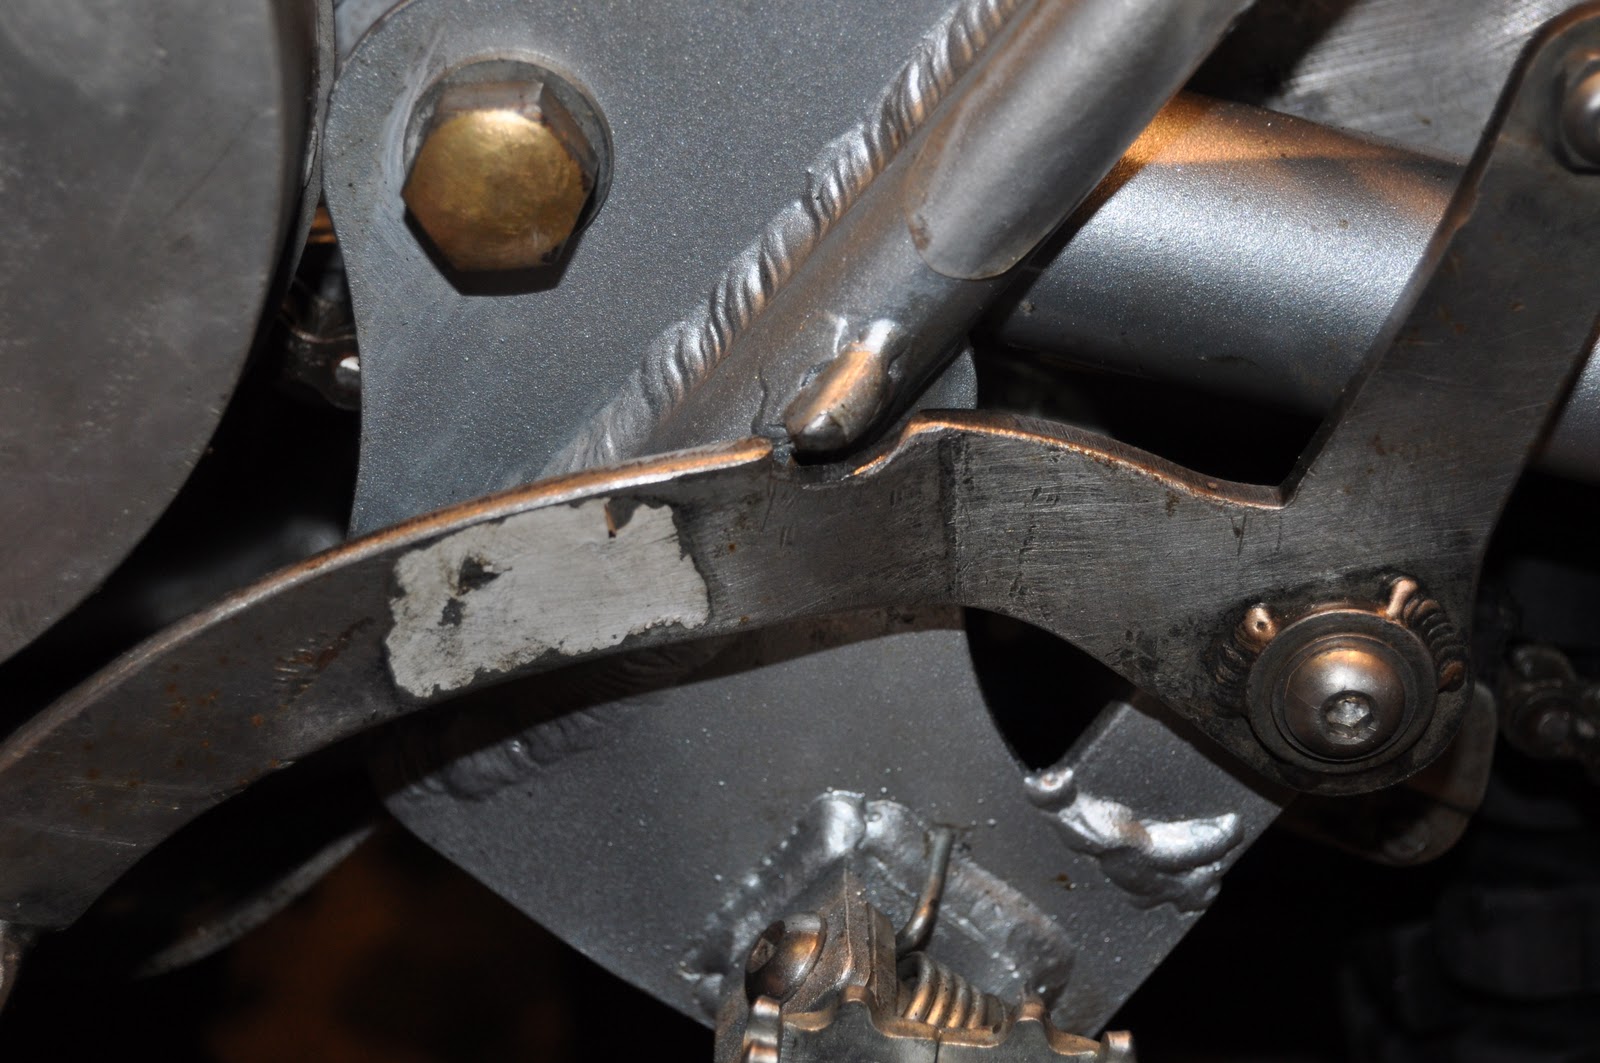
I’ve also modded the brake lever to lift the pedal slightly, I wanted to get away from having to tip my toes too far forward when braking so have removed some metal from the arm so it now sits approx. 10mm higher, this allied with the new alloy spacers my father ‘knocked up’ this week means the braking is now much more acute and immediate
No comments:
Post a Comment